
Prepare your garment photos
Get accurate AI photoshoot results: which garment photos work best, when to add a back photo, file types, and the separate parts for sarees, suits and shirts.
Your garment photo is the reference for every result. The color, print and detail in your model photos come from it, so a clear photo gives you a more accurate result. This page helps you choose and prepare photos, and shows you how to photograph clothes for AI photoshoots. To upload them, see Product library or Your first photoshoot.
Photos you can use
You don't need a studio. ApparelAI accepts these kinds of photos:
| Photo type | What it is |
|---|---|
| Flat lay | The garment laid flat on a surface, such as a table, floor or bed sheet |
| Hanger shot | The garment hanging on a hanger |
| Mannequin photo | The garment on a mannequin |
| On-body photo | A person wearing the garment |
| Supplier or wholesale catalog image | A product image from your supplier's catalog |
Photos like these, taken on a phone at home, work well:
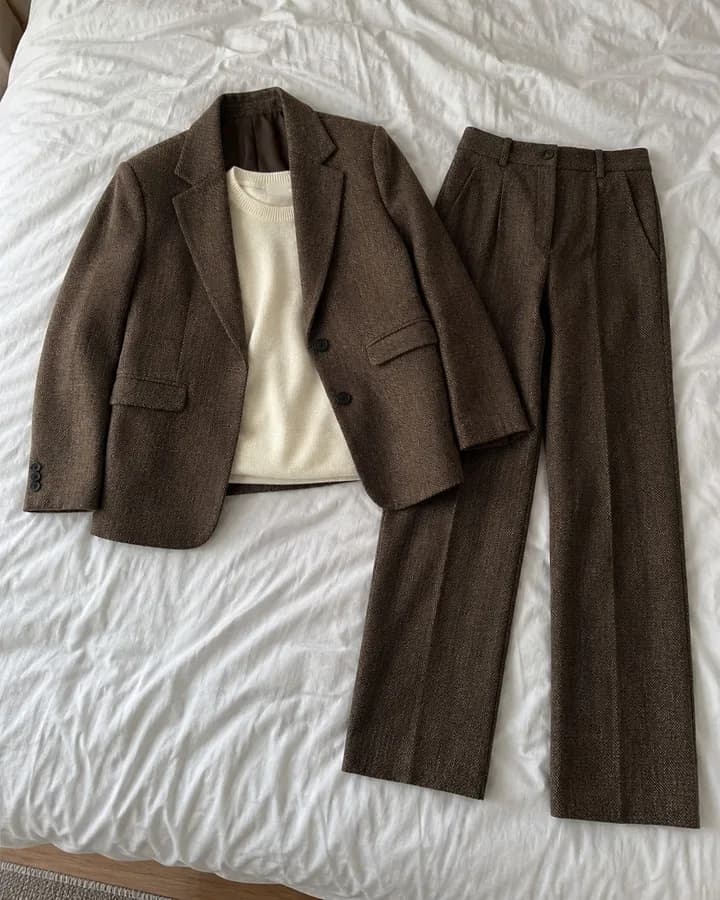
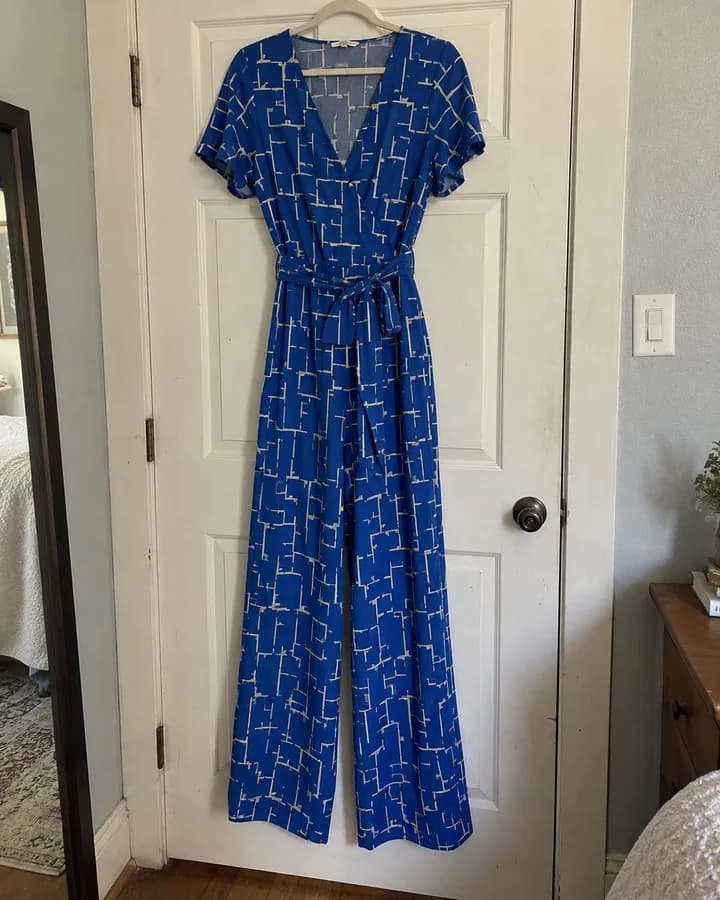
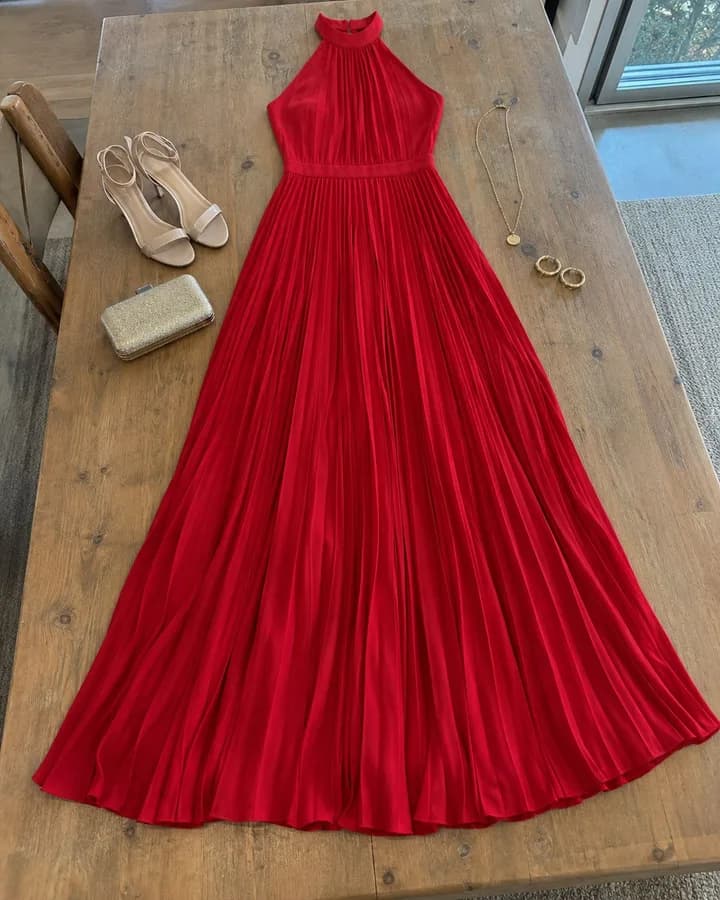
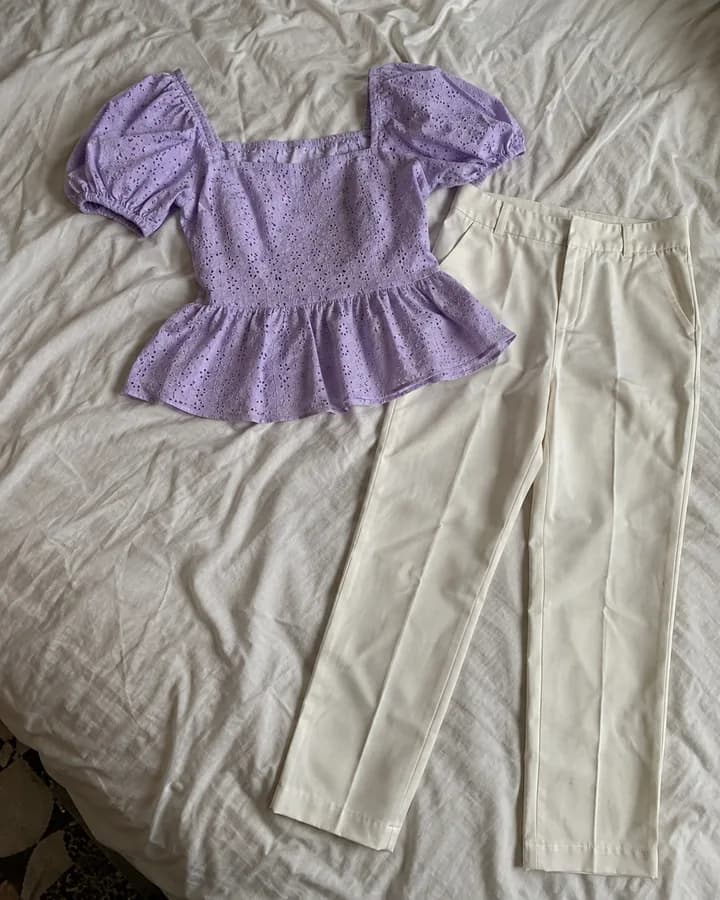
Backgrounds are removed automatically, so a plain wall or a bed sheet behind the garment is fine. A clear photo from your phone camera works. Front-facing, well-lit photos work best.
Use photos you have the right to use
You're responsible for having the rights to the photos you upload. Use your own photos, or images your supplier allows you to use.
File types and size
- In Create Photo Shoot, upload a JPG, PNG or WEBP photo of up to 25MB.
- The Products page and Bulk Photoshoot also accept iPhone HEIC photos, which convert automatically.
- If a photo is too big, the app shows File too large. Use a smaller version of the photo.
Front and back photos
In the Product step of Create Photo Shoot:
- Upload new product (front side) is the photo of the front of your garment. It's required.
- Back side (optional) is a photo of the back. Add one when the back has its own design. It's used when you pick a back-view pose, so the back of the garment comes from your photo instead of being invented.
Both photos upload together when you select Continue. If you pick a product you uploaded before, you can still add a back photo under Back side (optional). It's saved to that product straight away and used for back-view poses from then on.
In Saree, Salwar kameez and Shirt mode, the Product step shows that mode's photo slots instead (see below). In Bulk Photoshoot, the standard product row has a Back photo slot. See Bulk photoshoot.
Photo slots in each garment mode
Some garments are made of several pieces of fabric, and a single folded photo hides most of them. When you turn on a garment mode in Settings, the Product step shows a slot for each part of the garment. Only the first slot is required, but each extra photo gives that part a real reference instead of a guess.
| Mode | Photo slots |
|---|---|
| Saree | Saree Body (required), the main fabric. Blouse, the blouse piece. Pallu, the decorative end piece. |
| Salwar kameez | Top (Kameez) (required). Bottom, the salwar or pants. Dupatta. Sleeve. |
| Shirt | Shirt Fabric (required), the main fabric. Logo, a chest logo or brand mark. Collar, a contrast collar fabric. Cuff, a contrast cuff fabric. |
| Dupatta | The standard upload: a front photo and an optional back photo. |
Each mode has its own upload button, such as Upload Saree & Continue. In Bulk Photoshoot, each product row has a slot for each of the same parts.
- Sarees: the app suggests close-ups of the pallu, border and blouse for better accuracy. Use the Pallu and Blouse slots for those parts. There's no separate border slot, so make sure at least one full run of the border is visible in your Saree Body photo.
- Shirts: each extra part gets its own instructions, and the logo is taken from your actual file, so it stays exact.
For what each mode does, see Garment modes.
Photography tips for accurate results
Prepare the garment
- Steam or iron it first. Fold lines can come back looking like creases or seams.
- Fasten the buttons, straighten the collar and square the shoulders on structured pieces like blazers and shirts. The result follows the shape you give it.
- Spread the garment out so its shape is easy to read. Keep the neckline, sleeves, hem and pattern visible, and don't fold over or hide details.
- For layered sets, such as a jacket over a shirt, photograph the layers clearly separated.
Take the photo
- Shoot straight on, not at an angle, so patterns aren't distorted.
- Keep the whole garment in the frame, sharp and in focus.
- Fill the frame with the garment. Move in close for small, detailed pieces like kidswear.
- Use soft, even light. For knitwear, soft light from one side keeps rib and cable texture. Flat light from the front flattens it.
- For zari, zardozi and other metallic work, let the light fall across the surface. Flat light from the front can make metallic thread look like grey cotton.
- Use a simple, uncluttered background if you can.
Premium pieces
For handwoven or heavily worked pieces, where buyers zoom in to judge the zari or embroidery, add real close-up photos of the fabric to your listing alongside the AI model photo.
Import photos from a product link
If your products are already on an online store, you can import their photos instead of uploading them:
On the Products page or on Home, select Import from Store.
In the Import from Store URL window, paste the link to a product page from Shopify, WooCommerce or any other store, and select Fetch.
All the photos are selected at first. Untick any you don't want, then select Import N Selected.
Each photo you import is saved as a product. This imports photos from one product page at a time. It doesn't connect your store. See Product library.
Frequently asked questions
Steam the garment, lay it flat or hang it up, and shoot straight on in soft, even light, with the whole garment sharp and filling the frame. A clear photo from your phone camera works, so you don't need a studio. See Photography tips for accurate results.
No. Backgrounds are removed automatically, so a plain wall or a bed sheet behind the garment is fine. A simple, uncluttered background still helps.
Any of them works, and so do on-body photos and supplier catalog images. Front-facing, well-lit photos work best, with the neckline, sleeves, hem and pattern in view.
Yes, on the Products page and in Bulk Photoshoot, where HEIC photos convert automatically. In Create Photo Shoot, upload a JPG, PNG or WEBP photo of up to 25MB instead.
Add one when the back of the garment has its own design. Upload it under Back side (optional) in the Product step, and back-view poses show your garment's real back instead of an invented one. See Front and back photos.
Related
How credits work
How ApparelAI credits work: what photos, edits, AI tools and videos cost, where to see the cost and your balance, and what to do when you run out of credits.
Create a photoshoot
Turn a flat lay or product photo into an AI model photoshoot in five steps: choose your product, model, pose, background and output, then generate your photo.