
Make ghost mannequin shots
Create ghost mannequin product photos with AI: turn a hanger or on-model garment photo into clean invisible-mannequin front, back and side views for listings.
AI Ghost Mannequin turns a garment photo into a clean invisible-mannequin product shot. The garment holds its shape with no visible mannequin, hanger or model, and the fabric drape and the inside of the collar or neckline are kept. Use it when a marketplace or your store needs ghost mannequin photos and you don't want to do a mannequin photoshoot.
Open AI Ghost Mannequin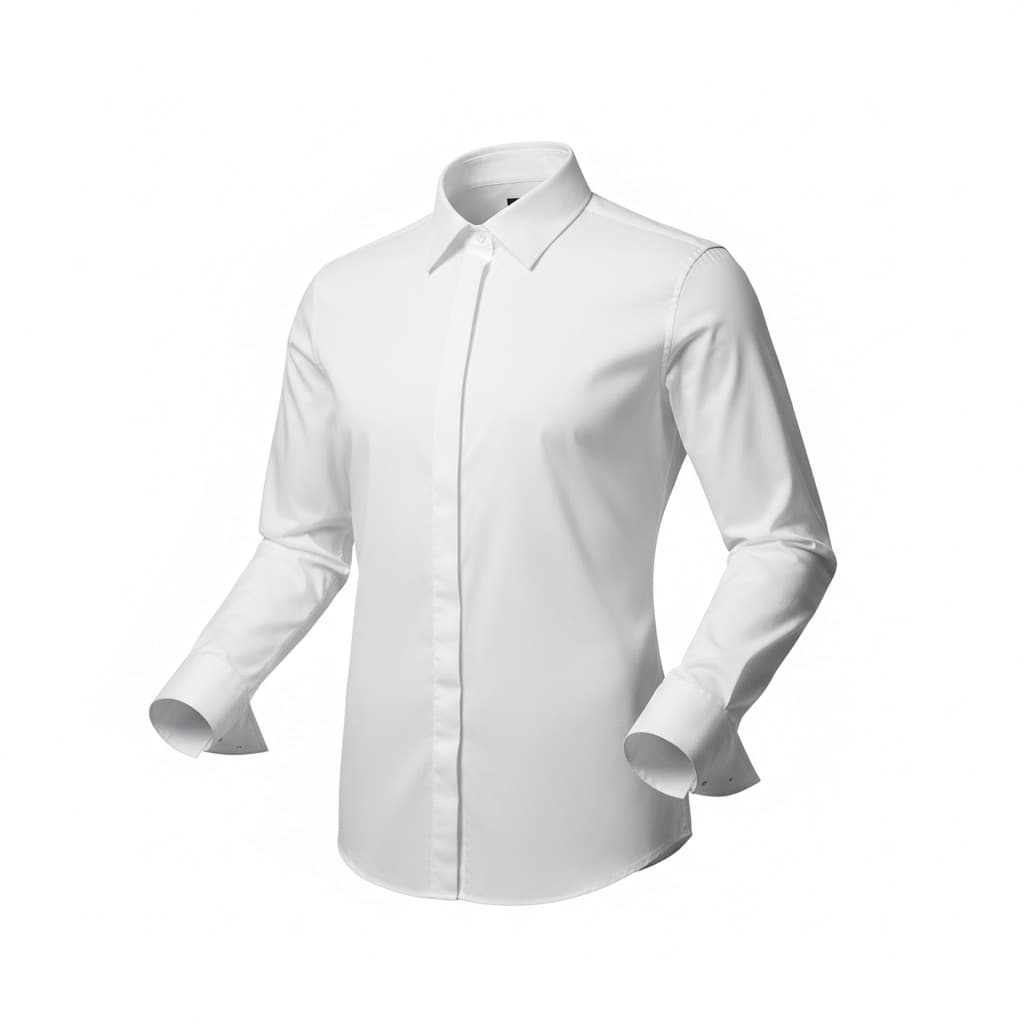
When to use it
- Amazon and Shopify listings that require ghost mannequin shots
- Catalog teams that want to skip a real mannequin photoshoot
- Brands that need front, back and side views for every SKU
What to upload
- Front view (required). A photo of the front of the garment. It can be on a hanger, on a mannequin, laid flat or worn by a model. Backgrounds are cleaned up automatically, and the model is removed from on-model photos.
- Back view and Side view (optional). Photos of the back and the side of the same garment. Add them when you want those views to show the garment's real back and side.
How to make ghost mannequin photos
Open AI Ghost Mannequin
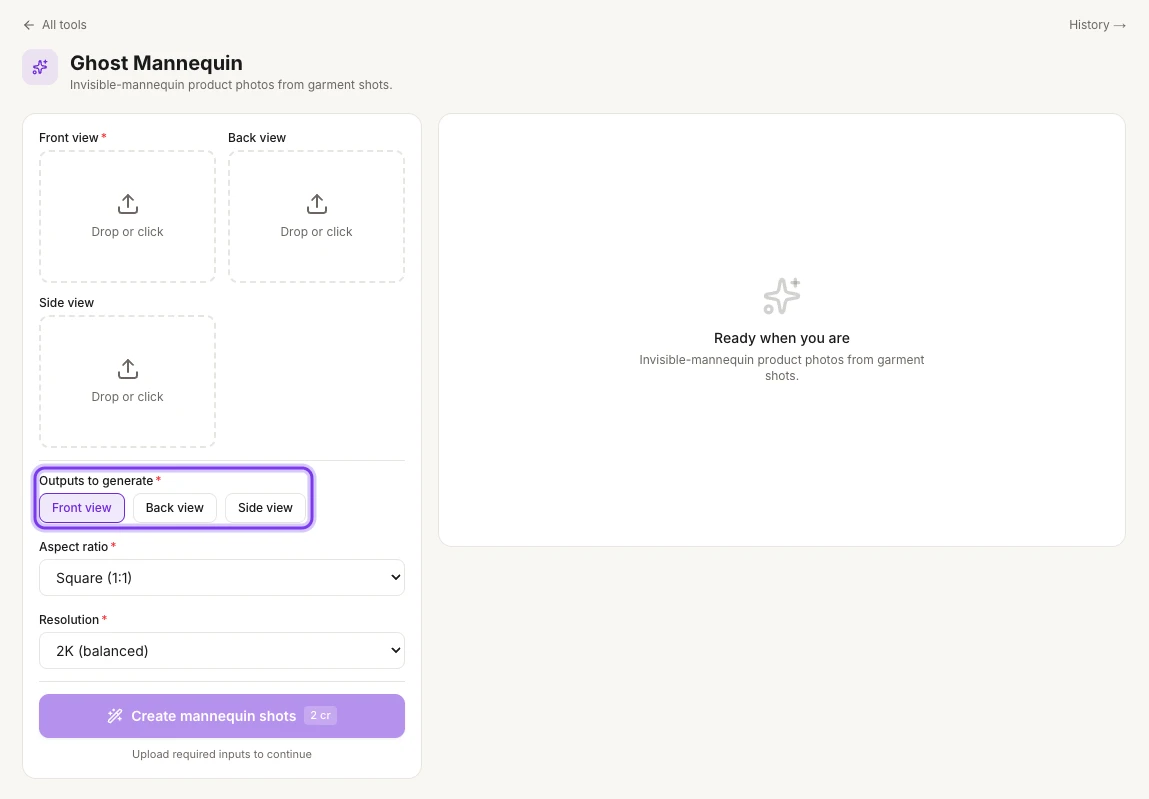
On the web, select AI Tools in the sidebar, then Ghost Mannequin under IMAGE TOOLS.
The highlighted Outputs to generate sets which views you get back.
Upload your garment photos
Upload the front photo under Front view. If you have them, add a photo of the back under Back view and a photo of the side under Side view.
Choose the views
Under Outputs to generate, Front view is selected at first. Also select Back view, Side view or both if your listing needs them. Each view comes back as a separate image.
Choose the aspect ratio and resolution
Under Aspect ratio, pick Match input, Square (1:1), Portrait (4:5), 3:4, Vertical (9:16) or Landscape (16:9). Square (1:1) is selected at first. Under Resolution, pick 1K (fastest), 2K (balanced) or 4K (premium).
Create the shots
Select Create mannequin shots. The button shows the cost, 2 cr for the front view at 2K, and becomes available once you've added the front photo. Each SKU is ready in under a minute.
Find your shots
Every run is saved in Tool history. To open it, select History → at the top right of the page.
What you get
One ghost mannequin image for each view you select under Outputs to generate: front, plus back and side if you add them. That's up to three listing shots in one run.
Credits
AI Ghost Mannequin costs 2 credits for the front view at 2K (balanced), the resolution that's selected at first. The Create mannequin shots button shows the cost before you start. See Compare plans for which plans include it.
Tips for a good result
- Use a well-lit, wrinkle-free photo with the full garment in frame.
- Steam the garment first. Fold lines can come back looking like creases.
- Shoot straight on rather than at an angle, so the pattern isn't distorted.
- The sharper and straighter your photo, the more faithful the details, like prints and logos.
- Pick the shape your marketplace asks for under Aspect ratio, like 3:4 for Myntra.
- Check your marketplace's current image rules before you upload.
More product shots
- From a photoshoot: for garments like dresses, shirts and tops, the Photo Shoot Result page lists Ghost Mannequin Front, Ghost Mannequin Back and Ghost Mannequin Side under PRODUCT SHOTS. See Edit and improve results.
- Shirts: Shirt mode lets you upload logo, collar and cuff details separately for tighter control. For flat and folded shirt shots, see Shirt product shots.
- Ethnic wear: sarees and blouses have their own dedicated product shots, including a blouse front and back view on an invisible mannequin. See Product shots.
- Video: turn a ghost mannequin shot into a video with Product spin, which is made for photos without a model. Seamless loop and Detail reveal work well on product pages too. See Turn a photo into a video.
Frequently asked questions
Select AI Tools in the sidebar, then Ghost Mannequin, and upload a photo of the front of the garment under Front view. Choose the views, aspect ratio and resolution, then select Create mannequin shots. Every run is saved in Tool history.
No. The front photo can show the garment on a hanger, laid flat, on a mannequin or worn by a model, and the model is removed from on-model photos. Backgrounds are cleaned up automatically too.
Yes. Under Outputs to generate, select Back view, Side view or both as well as Front view, and each view comes back as a separate image. Add back and side photos so those views show the garment's real back and side.
The front view costs 2 credits at 2K (balanced), the resolution that's selected at first. The Create mannequin shots button shows the cost before you start.
Pick the shape your marketplace asks for, such as 3:4 for Myntra. You can choose Match input, Square (1:1) (selected at first), Portrait (4:5), 3:4, Vertical (9:16) or Landscape (16:9).
Related
Create a lookbook
Turn one outfit photo into a four-look fashion lookbook styled in the mood you choose, ready for Instagram carousels, stories and collection pages.
Remove a background
Remove the background from clothing, product and model photos and get a clean cutout on a transparent background, ready for listings and branded layouts.